
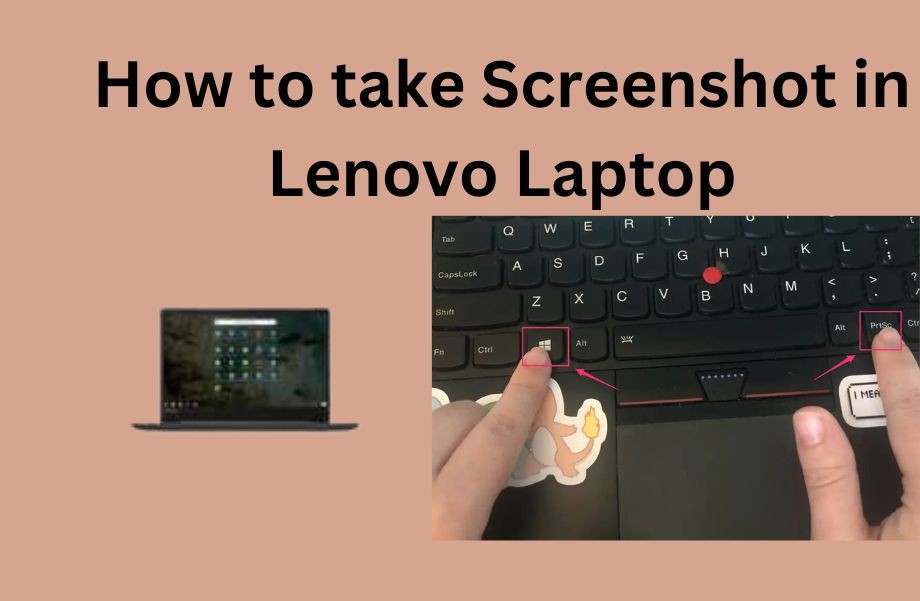
Okay, check it, fam! We gonna get you squared away on how to snag them screenshots on your Lenovo, ya dig? Ain’t nothin’ worse than tryna capture somethin’ quick and you fumble-fingered all over the keyboard. We gon’ make it smooth and simple for ya. Let’s get into it!
Alright, listen up! We all been there. You see somethin’ online – a meme that’s killin’ ya, some fresh gear you gotta show your crew, or maybe just proof of somethin’ wild someone said. You *need* a screenshot. And on a Lenovo, it’s easier than makin’ a pot of grits. So ditch the confusion and let’s break down a couple ways to grab that digital goodness.
Screenshotting the Easy Way

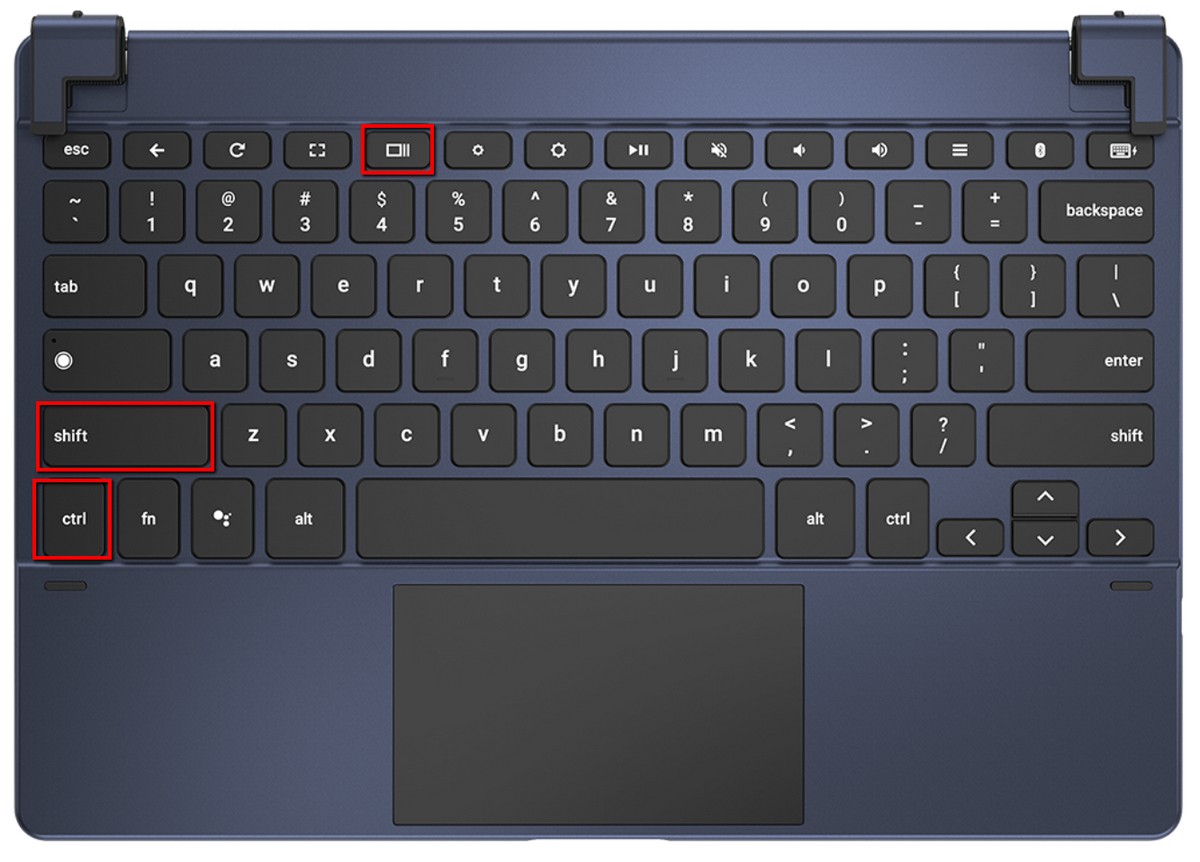
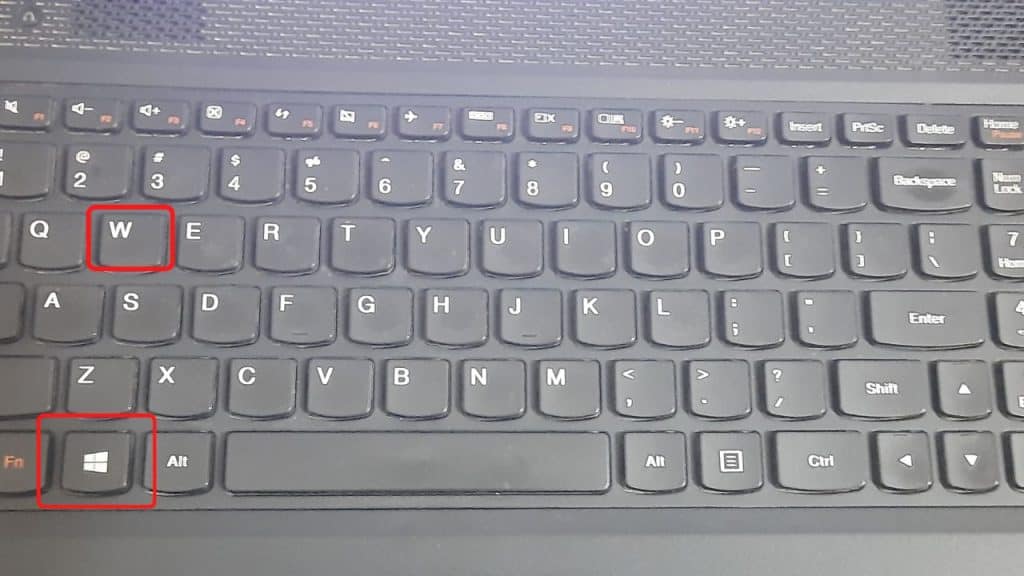
This here’s the bread and butter, the go-to move. Most Lenovo laptops, especially Chromebooks, got a dedicated screenshot key. Look around the top row of your keyboard – you should see a key with a little camera icon on it, or maybe one that looks like a rectangle with a dashed line around it. Found it? Good! Just press that bad boy. Depending on your settings, it might grab the whole screen right away, or it might give you the option to select a specific area. If it lets you select, just click and drag your mouse over the part you wanna capture, then release. Boom! Screenshot saved! Usually they end up in your downloads folder, or maybe your pictures folder. Go hunt it down and share that masterpiece!
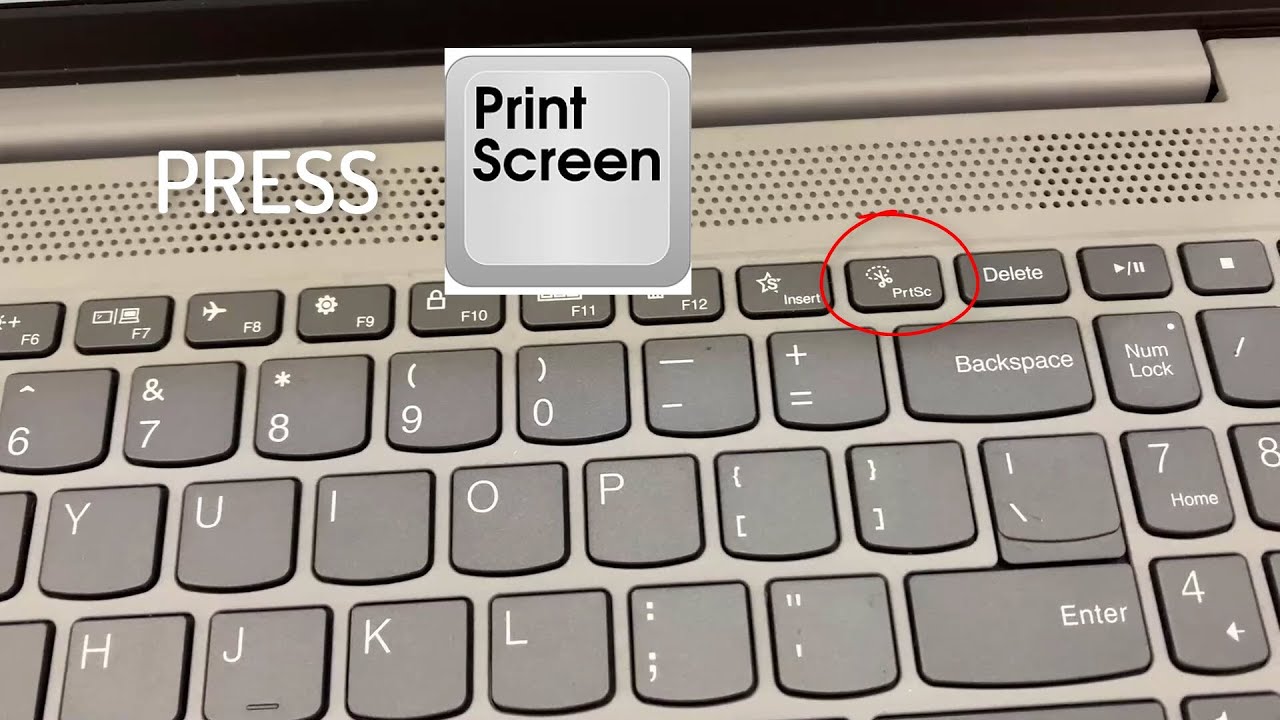
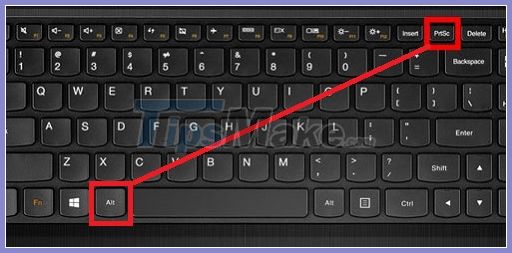
The Print Screen Power Move

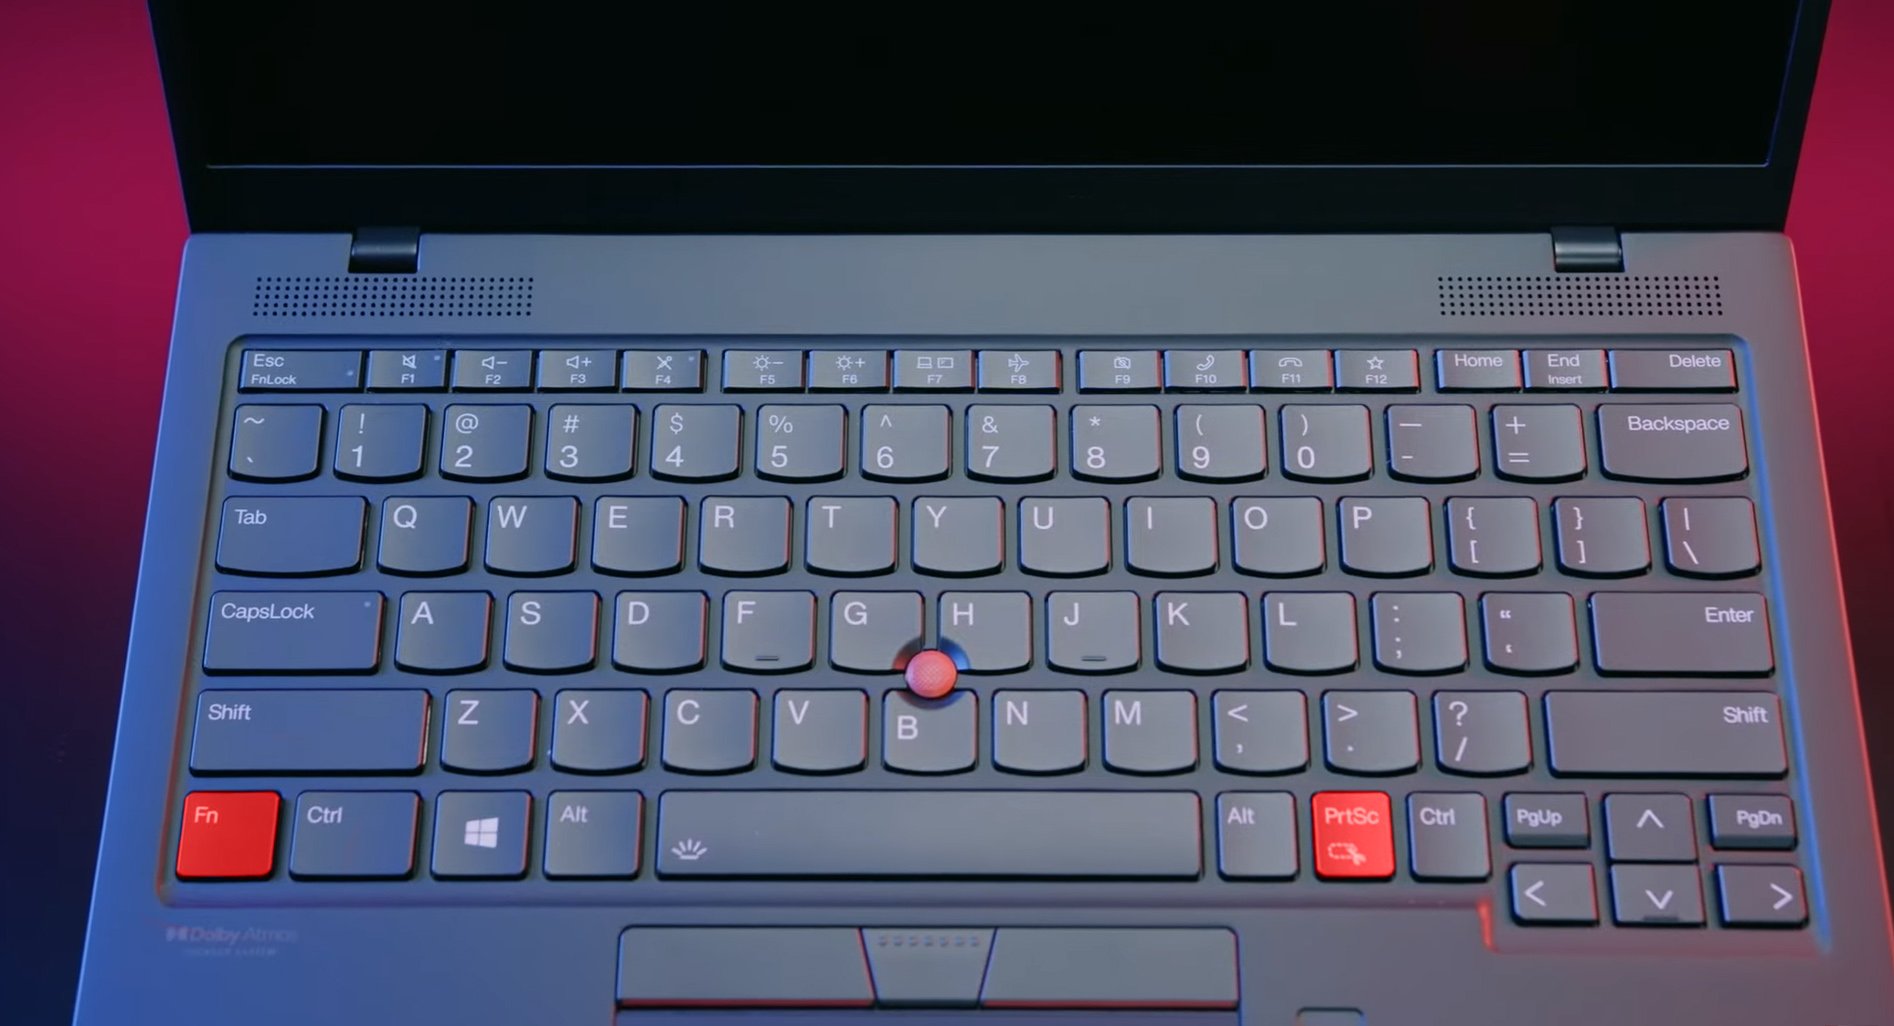
Now, if your Lenovo ain’t got that fancy screenshot key, or if you just like doin’ things the old-school way, the Print Screen key is your friend. Usually labeled “PrtScn” or somethin’ similar, this key lives somewhere near the top right of your keyboard. When you hit that key, it copies an image of your whole screen to the clipboard – it’s like takin’ a mental picture, but for your computer. Now, this is where it gets a little different. Pressing the Print Screen key *alone* doesn’t save the screenshot as a file. You gotta paste it into an image editing program. Fire up Paint (it comes standard on Windows), or if you’re feeling fancy, use somethin’ like Photoshop or GIMP. Then, just paste (Ctrl+V) into the program, and *voila*! Your screenshot is ready for editing, cropping, and saving as a proper image file. Don’t forget to save it as a .jpg or .png so you can easily share it with the world.
So there you have it, two smooth ways to take screenshots on your Lenovo laptop. Now you can capture all them golden moments without breaking a sweat. Go forth and screenshot wisely, my friend!
If you are searching about How To Take Screenshot In Lenovo Laptop Windows 11? you’ve came to the right page. We have 10 Pics about How To Take Screenshot In Lenovo Laptop Windows 11? like Take Screens On Lenovo Laptop Windows 10 – Best Image Home, How To Take A Screenshot On Lenovo Thinkpad Laptop Wi – vrogue.co and also How To Take Screenshots On A Lenovo Laptop On Windows – vrogue.co. Here you go:
How To Take Screenshot In Lenovo Laptop Windows 11?
keysswift.com
How To Take Screenshot In Lenovo Laptop
www.linkedin.com
Take Screenshot On Lenovo Laptop
mungfali.com
Take Screenshot On Lenovo Laptop
mungfali.com
How To Take A Screenshot On Lenovo Thinkpad Laptop Wi – Vrogue.co
www.vrogue.co
How To Screenshot On A Lenovo Laptop
:max_bytes(150000):strip_icc()/snipandsketchlenovolaptop-40be4b928e774152a41cb0729b59e759.jpg)
www.lifewire.com
lenovo maken lifewire thinkpad matthew smith
How To Take Screenshots Laptop Lenovo – Vrogue.co
www.vrogue.co
How To Take Screenshots On A Lenovo Laptop On Windows – Vrogue.co

www.vrogue.co
Take Screens On Lenovo Laptop Windows 10 – Best Image Home
imagesshirt.com
lenovo laptop windows 11e thinkpad
Rokillo.blogg.se – How To Take A Screenshot On Windows 10 Lenovo Laptop

rokillo.blogg.se
How to take screenshots on a lenovo laptop on windows. How to take a screenshot on lenovo thinkpad laptop wi. How to take screenshot in lenovo laptop windows 11?


:max_bytes(150000):strip_icc()/008_how-to-factory-reset-a-lenovo-laptop-5115817-a67348722ce94f9783881ea29e596310.jpg "how to factory reset my evoo laptop How to factory reset a lenovo laptop")